17. PVS XenDesktop Setup Wizard
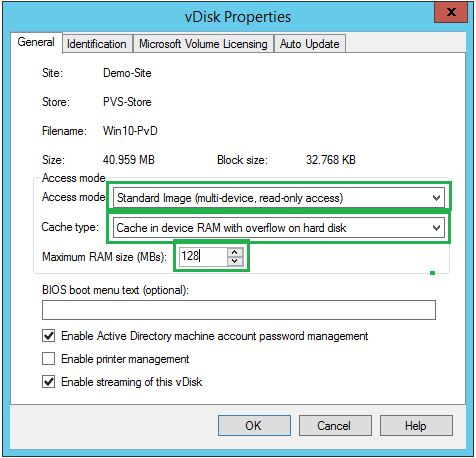
17.1 Als erstes werden die folgende vDisk Eigenschaften angepasst:
- der Zugriffsmodus wird auf Standard (schreibgeschützt) umgestellt. - der Zielort und RAM-Größe für WriteCache wird festgelegt. Die Option "Cache in device RAM with overflow on hard disk." hat sich als besonders effektive erwiesen.
Die RAM-Größe kann sich je nach Workload stark variieren. Von Citrix werden folgende Werte empfohlen (empfohle Werte für das Server Betriebsystem 2-4 GB):
| RAM Sizing | ||
| Workload | RAM-Größe | |
| Light | 128 - 256 MB | |
| Medium | 256 - 512 MB | |
| Heavy | 512 - 1024 MB | |
Size Matters: PVS RAM Cache Overflow Sizing - Amit Ben-Chanoch
PVS-Console starten > Sites > Site > vDisk Pool > vDsik auswählen, rechte Maustaste Eingenschaften
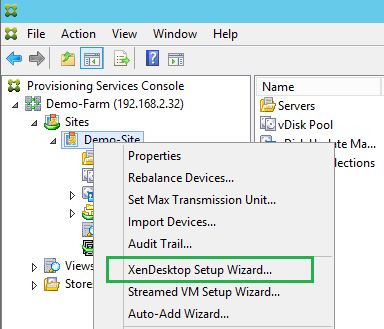
17.2 PVS-Console starten > Sites > Site > rechte Maustaste "XenDesktop Setup Wizard" starten
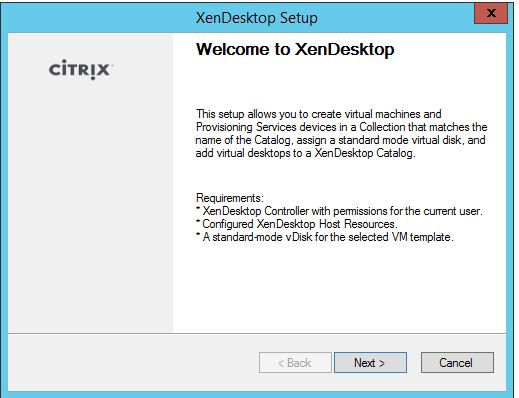
17.2 Weiter...
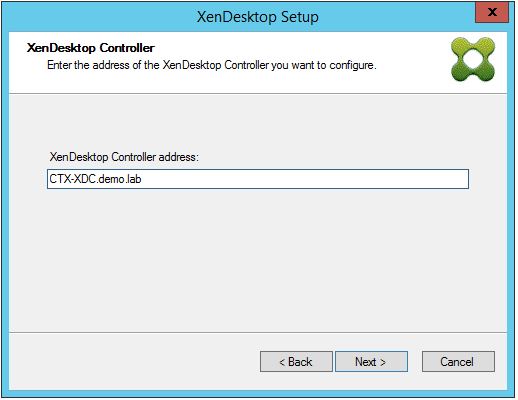
17.3 Hier wird der Name des Delivery Controller eingegeben
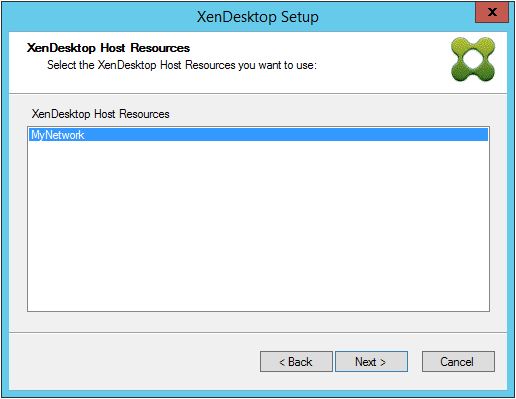
17.4 Wählen die passende Hosting-Infrastructure
17.5 Anmeldeinformationen eingeben

17.6 Wählen Sie die entsprechende Vorlage
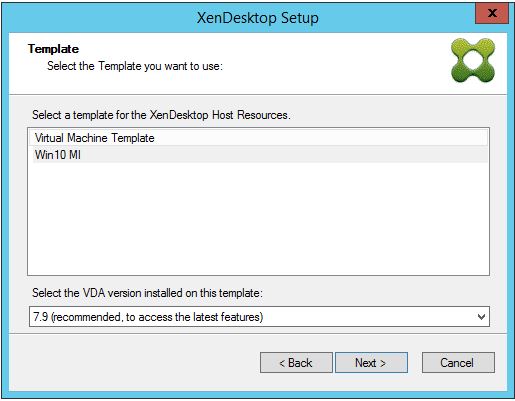
17.7 vDisk auswählen und weiter.

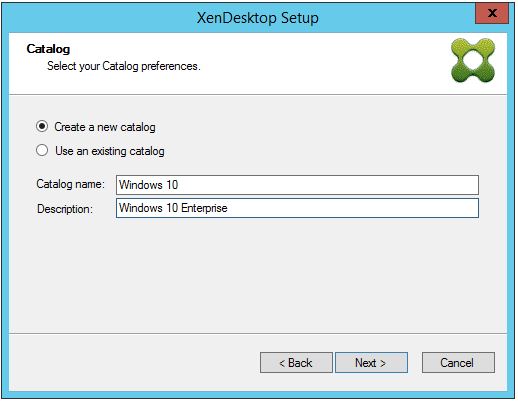
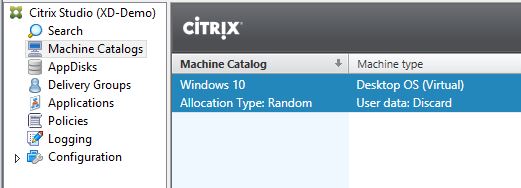
17.8 Erstellen Sie einen neuen Katalog oder wählen Sie den bereits existierenden. Es handelt sich dabei um einen Machinen Katalog auf einem Delivery Controller.
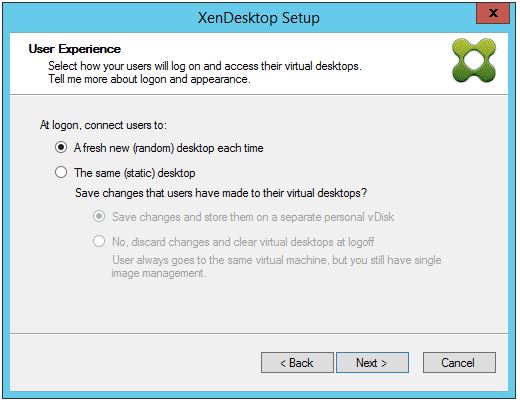
17.9 Die Art der Bereitstellung auswählen

17.20 Wir wählen hier der Desktop zugeordnet wird. In disem Fall wird es nicht fest zugeordnet, sondern zufällig vergeben.
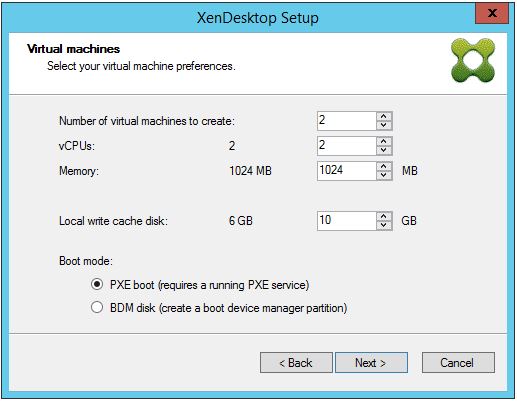
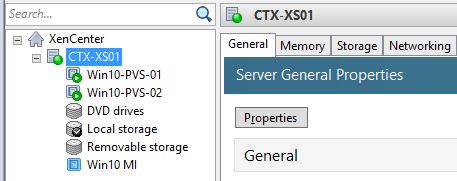
17.21 Legen Sie die Anzahl von VM, sowie die andere Werte fest.
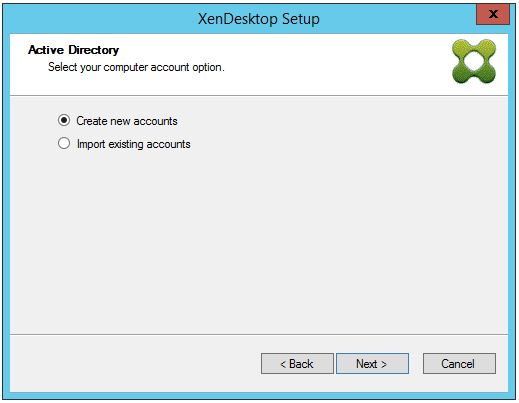
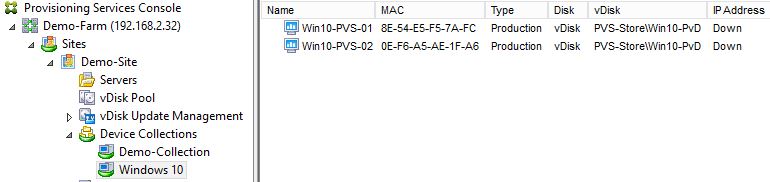
17.22 Computerkonten neu erstellen oder eine CSV-Datei mit Computerkonten vorbereiten.
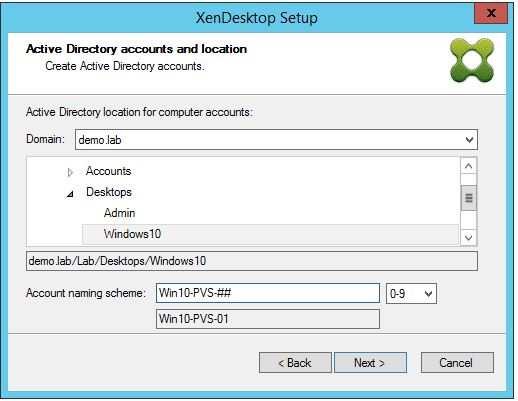
17.23 Wählen den Speicherort für den Computerkonten und legen Sie das Benennungsschema fest
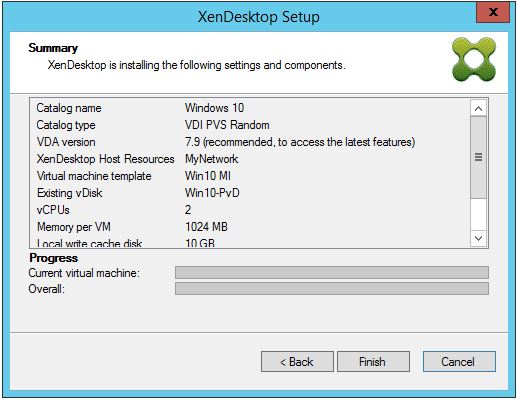
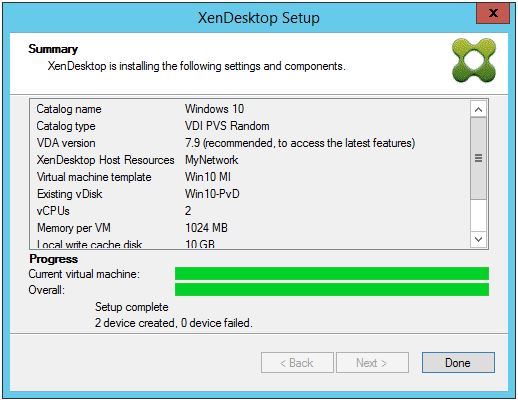
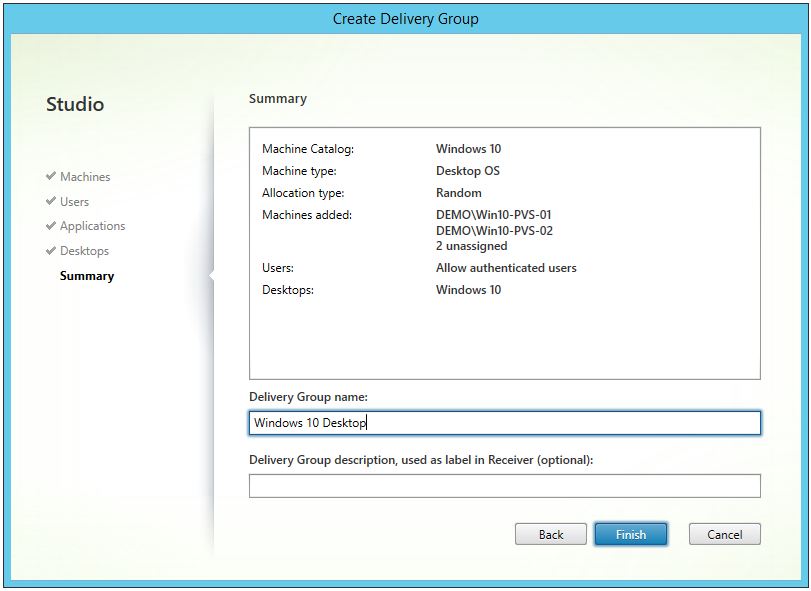
17.24 Wenn alle Eingaben korrekt sind, klicken Sie auf Finish
17.25
17.26
17.27
17.28
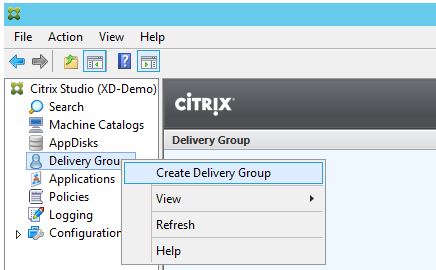
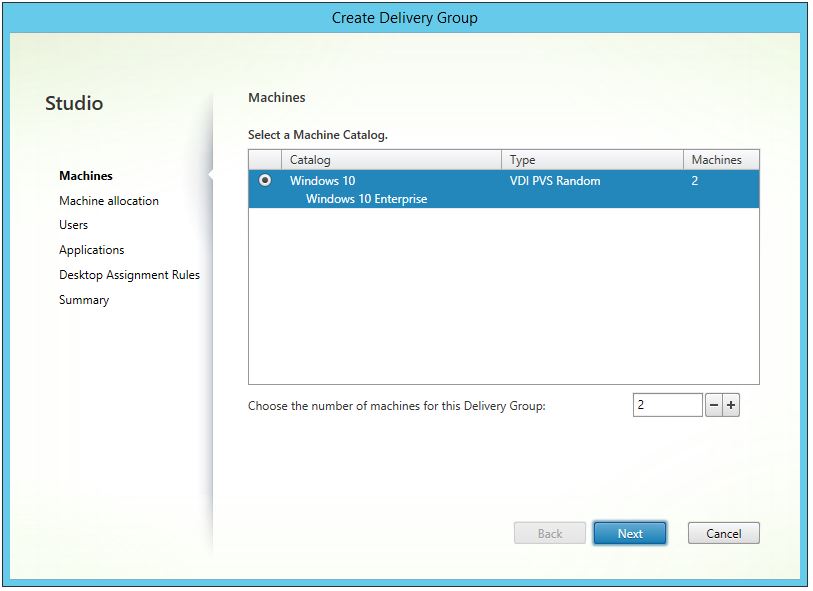
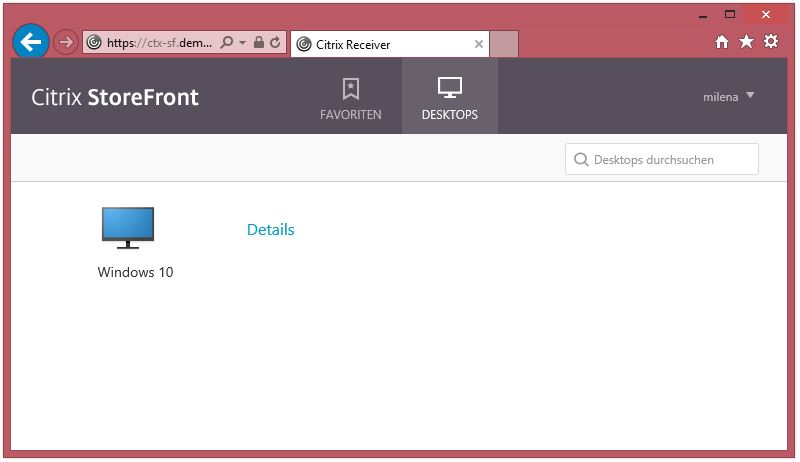
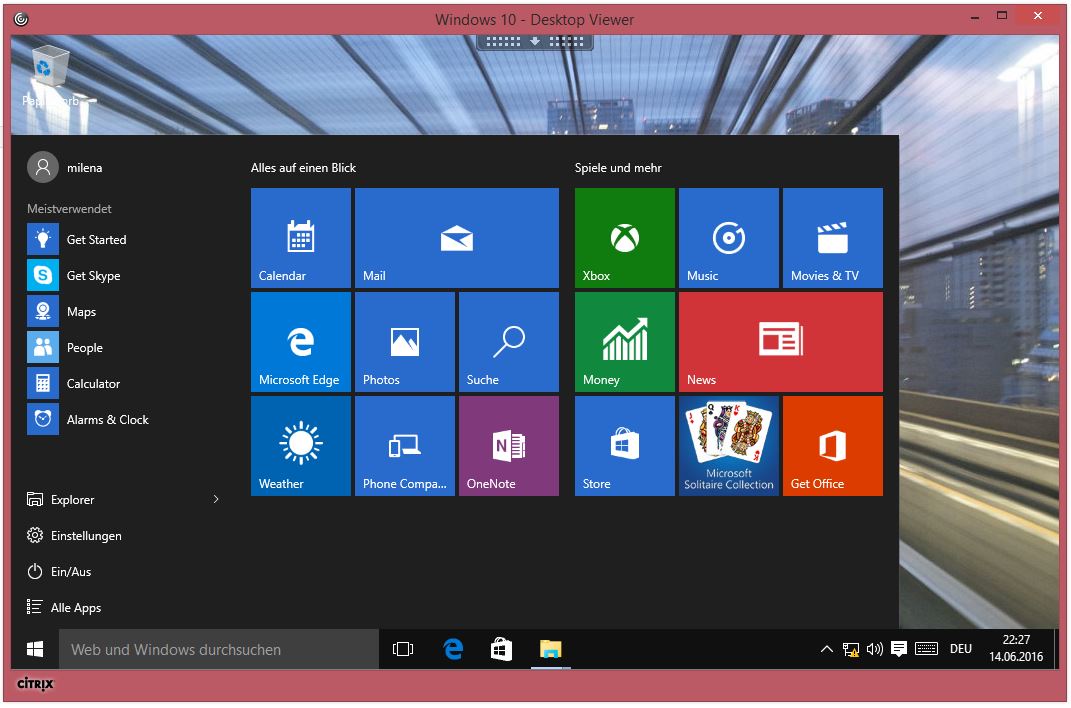
18. Delivery Group erstellen
18.1
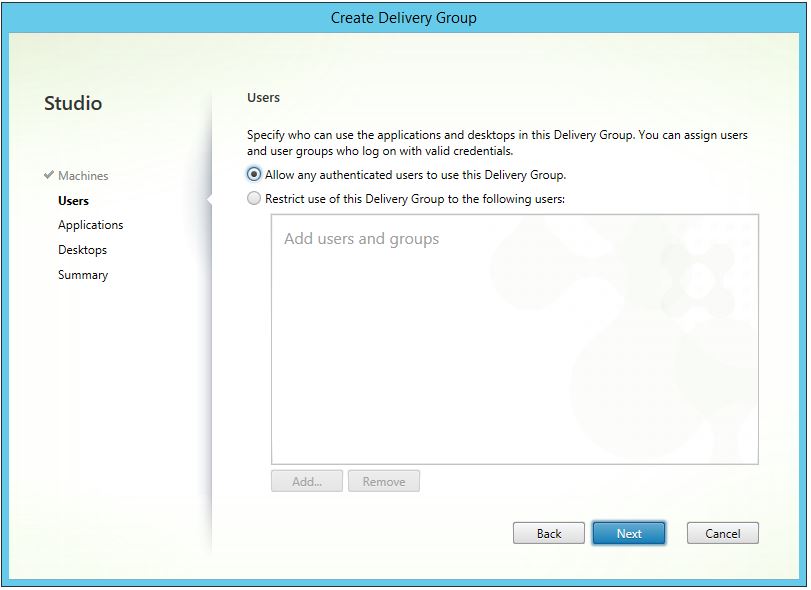
18.2
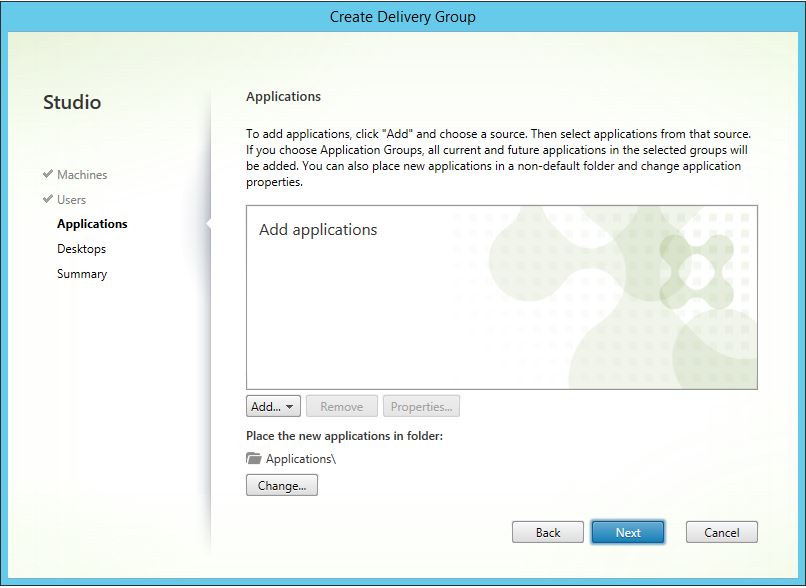
18.3
18.4
18.5

18.6

18.7

18.8
18.9
18.10
19. vDisk Sealing nach einem Update
Nach einem vDisk-Update sind einige weitere Optimierungsschritte notwendig.
Beispiel eines Batch-Files:
gpupdate /force
ipconfig /flushdns
arp.exe -d
shutdown /s /t 0
PowerShell Optimization Skript
Bei diesem Skript handelt es sich dabei um die Optimierungsschritte auf Basis von Citrix Best Practices. Das Script ist sowohl für PVS, als auch für MCS einsetztbar.
#-----------------------------------------
# Optimization Windows 10 for PVS
# Nach Citrix Best Practices
#
#-----------------------------------------
Set-ExecutionPolicy Unrestricted -force
#-----------------------------------------
# Deinstallation von allen Windows 10 Apps
#-----------------------------------------
# Uninstall 3D Builder:
Get-AppxPackage *3dbuilder* | Remove-AppxPackage
# Uninstall Alarms and Clock:
Get-AppxPackage *windowsalarms* | Remove-AppxPackage
# Uninstall Calculator:
Get-AppxPackage *windowscalculator* | Remove-AppxPackage
# Uninstall Calendar and Mail:
Get-AppxPackage *windowscommunicationsapps* | Remove-AppxPackage
# Uninstall Camera:
Get-AppxPackage *windowscamera* | Remove-AppxPackage
# Uninstall Get Office:
Get-AppxPackage *officehub* | Remove-AppxPackage
# Uninstall Get Skype:
Get-AppxPackage *skypeapp* | Remove-AppxPackage
# Uninstall Get Started:
Get-AppxPackage *getstarted* | Remove-AppxPackage
# Uninstall Groove Music:
Get-AppxPackage *zunemusic* | Remove-AppxPackage
# Uninstall Maps:
Get-AppxPackage *windowsmaps* | Remove-AppxPackage
# Uninstall Microsoft Solitaire Collection:
Get-AppxPackage *solitairecollection* | Remove-AppxPackage
# Uninstall Money:
Get-AppxPackage *bingfinance* | Remove-AppxPackage
# Uninstall Movies & TV:
Get-AppxPackage *zunevideo* | Remove-AppxPackage
# Uninstall News:
Get-AppxPackage *bingnews* | Remove-AppxPackage
# Uninstall OneNote:
Get-AppxPackage *onenote* | Remove-AppxPackage
# Uninstall People:
Get-AppxPackage *people* | Remove-AppxPackage
# Uninstall Phone Companion:
Get-AppxPackage *windowsphone* | Remove-AppxPackage
# Uninstall Photos:
Get-AppxPackage *photos* | Remove-AppxPackage
# Uninstall Store:
Get-AppxPackage *windowsstore* | Remove-AppxPackage
# Uninstall Sports:
Get-AppxPackage *bingsports* | Remove-AppxPackage
# Uninstall Voice Recorder:
Get-AppxPackage *soundrecorder* | Remove-AppxPackage
# Uninstall Weather:
Get-AppxPackage *bingweather* | Remove-AppxPackage
# Uninstall Xbox:
Get-AppxPackage *xboxapp* | Remove-AppxPackage
#-----------------------------------------
# Disable Hibernation
#-----------------------------------------
powercfg -h off
#-----------------------------------------
# User interface optimizations
#-----------------------------------------
# Disable default system Screensaver
Set-ItemProperty -Path HKU:\.DEFAULT\ControlPanel\Desktop -Name ScreenSaveActive -Type DWord -Value 00000000 -ErrorAction SilentlyContinue
# Disable the Windows 10 First Logon Animation
Set-ItemProperty -Path HKLM:\SOFTWARE\Microsoft\Windows\CurrentVersion\Policies\System -Name EnableFirstLogonAnimation -Type DWord -Value 00000000 -ErrorAction SilentlyContinue
# Hide Hard Error Messages
Set-ItemProperty -Path HKLM:\System\CurrentControlSet\Control\Windows -Name ErrorMode -Type DWord -Value 00000002 -ErrorAction SilentlyContinue
#-----------------------------------------
# Registry updates for better efficiency
#-----------------------------------------
# Disable NTFS Last Access Timestamps
Set-ItemProperty -Path HKLM:\SYSTEM\CurrentControlSet\Control\FileSystem -Name NtfsDisableLastAccessUpdate -Type DWord -Value 00000001 -ErrorAction SilentlyContinue
# Disable Memory Dump Creation
$CrashControl = "HKLM:SYSTEM\CurrentControlSet\Control\CrashControl";
Set-ItemProperty -Path $CrashControl -Name CrashDumpEnabled -Type DWord -Value 00000000 -ErrorAction SilentlyContinue
Set-ItemProperty -Path $CrashControl -Name LogEvent -Type DWord -Value 00000000 -ErrorAction SilentlyContinue
Set-ItemProperty -Path $CrashControl -Name SendAlert -Type DWord -Value 00000000 -ErrorAction SilentlyContinue
# Disable Background Disk Defragmentation
Set-ItemProperty -Path HKLM:\SOFTWARE\Microsoft\Dfrg\BootOptimizeFunction -Name Enable -Type string -Value N -ErrorAction SilentlyContinue
# Disable Background Auto-Layout
Set-ItemProperty -Path HKLM:\SOFTWARE\Microsoft\Windows\CurrentVersion\OptimalLayout -Name EnableAutoLayout -Type DWord -Value 00000000 -ErrorAction SilentlyContinue
# Increase Disk I/O Timeout to 200 seconds
Set-ItemProperty -Path HKLM:\SYSTEM\CurrentControlSet\Services\Disk -Name TimeOutValue -Type DWord -Value 0x000000c8 -ErrorAction SilentlyContinue
Eine andere, sehr effektive Optimirungs-Methode ist die Verwendung von VMware OS Optimization Tool